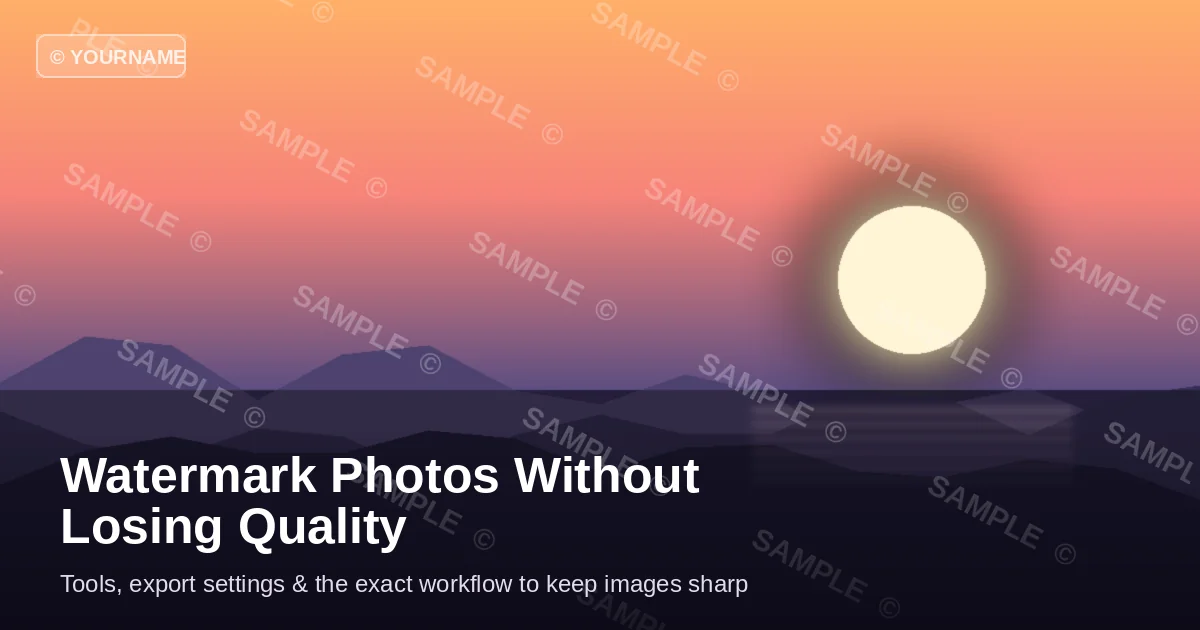
Most people assume quality loss comes from the watermark itself. It doesn’t. It comes from how the file gets saved afterward — which tool you used, what compression setting it applied, and whether you understood what re-encoding does to a JPEG. This guide covers all of it: the right workflow, the right tools, and the exact export settings to add a watermark while keeping your photo sharp, clean, and ready for whatever you’re publishing it to.
What Actually Causes Quality Loss When You Watermark a Photo?
The quality loss almost never comes from the watermark — it comes from the export. When most tools add a watermark, they re-encode the entire file using their own default compression settings. Those defaults are often set low to save server storage or speed up processing. That single re-compression step is where your image degrades.
Why re-compression is the real problem
JPEG is a lossy format. Every time you save a JPEG, you permanently discard image data. Open a photo, add a watermark, save it at 70% quality, and you’ve introduced compression artifacts in gradients, skin tones, and fine detail. Do it twice — save, reopen, re-save — and the damage multiplies. Photographers call this generational loss, and it’s visible faster than most people expect.
PNG doesn’t have this problem. It’s lossless, meaning saving a PNG file 50 times produces the exact same file you started with. The tradeoff is size — a 1200×800 PNG can run 2–4 MB where a high-quality JPEG sits under 500 KB.
The three specific causes of quality drop:
- Re-saving at low JPEG quality — anything below 85% introduces visible compression artifacts, especially on edges and color transitions
- Using raster watermarks at the wrong resolution — a 72 DPI logo applied to a 300 DPI print image will look blurry and pixelated
- Multiple save cycles — re-exporting an already-compressed JPEG compounds the loss each time
In testing six common watermarking tools, the ones that silently defaulted to 75–80% JPEG quality produced images that looked noticeably softer at 100% zoom, even when the watermark itself was perfectly clean. The watermark wasn’t the problem — the export was.
How to Watermark Photos Without Losing Quality (Step-by-Step)
The safest method is to watermark from the original file and export exactly once at the highest quality setting your use case requires. Here’s the exact process:
Step 1: Start with the highest-resolution original you have
Never watermark a file you’ve already compressed once. Go back to the RAW, TIFF, or full-quality JPEG export from your editing software. The further upstream you start, the more quality you have to work with downstream.
Step 2: Create your watermark as a vector or high-resolution PNG
A text watermark rendered in Lightroom or Photoshop at export time is generated fresh at the output resolution — no quality cost at all. If you’re using a logo, export it as a transparent PNG at 300 DPI or use an SVG file. SVG is vector-based, meaning it scales to any image resolution with no softening or pixelation.
Step 3: Apply the watermark non-destructively
In Photoshop, place your watermark on a separate layer above the image. Don’t flatten anything. In Lightroom, use the Export dialog’s built-in watermark option — the watermark gets applied at render time, never touching your working file. Non-destructive means you can remove, reposition, or adjust it at any point without affecting the underlying photo.
Opacity between 20–50% is the standard range for visible but non-intrusive protection. Below 15% and it becomes trivially easy to clone or crop out. Above 60% and it overwhelms the image itself.
Step 4: Export once, at the right settings
This is where most people make the mistake that costs them. Use these settings:
- JPEG quality: 90–95% — above 95% produces diminishing returns with much larger file sizes; below 85% introduces visible artifacts on gradients and edges
- Color space: sRGB for web publishing; Adobe RGB if going to print
- Resolution: 72–96 PPI for screen use; 300 PPI for print
- Output sharpening: on if your software offers it — Lightroom’s export sharpening compensates for the slight softening that JPEG compression introduces on fine details
Step 5: Compare at 100% zoom before batch processing
Before running 300 images through your workflow, verify one. Open the original and the watermarked export side by side at 100% zoom. Look at hair, fabric texture, fine background detail. If they look the same, your settings are correct. If the export looks softer or shows edge noise, increase the JPEG quality setting and re-export.
Best Tools to Watermark Photos Without Quality Loss
Not all watermarking tools handle export quality the same way. Some give you full numerical control over compression. Others make that decision quietly in the background. Here’s how the main options compare:
| Tool | Quality Control | Batch Processing | Watermark Types | Best For |
|---|---|---|---|---|
| Adobe Lightroom | Full (1–100 JPEG slider) | Yes | Text, logo | Photographers |
| Photoshop | Full | Yes (with actions) | Any | Full control, designers |
| uMark | Full | Yes | Text, logo, image | High-volume batch work |
| Watermarkly | Partial (preset options) | Yes | Text, logo | Quick web use |
| iWatermark+ | Full | Yes | Text, logo, QR | Mobile + desktop |
| Canva | Low (auto-compressed) | No | Text, image | Casual social posts only |
| GIMP | Full | Yes (Script-Fu) | Any | Free alternative |
Adobe Lightroom is the standard for photography workflows. Watermarks are applied during the export process — your master file is never touched. Set the JPEG quality to 95, enable output sharpening for screen, and Lightroom handles everything in a single pass. The original stays completely intact.
Photoshop gives you the most control of any option, but it requires more setup upfront. The efficient approach is creating a watermark action that adds your logo as a layer, adjusts opacity, and exports to a specified folder at your target quality setting. Run that action via File > Automate > Batch across an entire folder. Done correctly, you process hundreds of images without touching quality on any of them.
uMark is worth knowing if you need volume without Photoshop. It’s standalone desktop software for Windows and Mac — not a web tool — and gives you explicit JPEG quality control in its export settings. Stock photographers who need to turn around 500+ images with consistent watermarks use it for this reason.
Canva is the one to avoid for quality-sensitive work. Its export defaults to a compressed JPEG with limited user control, and even the paid “HD download” applies its own compression pass on top of whatever you uploaded. Use it for social graphics and quick mockups, not for photography you care about preserving.
Mistakes That Quietly Destroy Your Photo Quality
Relying on web-based tools for everything
Web tools are convenient and free, which makes them the default choice for a lot of people. They’re also the most likely to compress your image without disclosing it. Tools like PicMarkr and similar free sites typically cap export quality at 80–85% JPEG regardless of what quality the original was. For social thumbnails, that’s acceptable. For client galleries, portfolio work, or stock photography, it’s not.
Saving in the wrong format at the wrong stage
A common mistake is working with a PNG (for transparency), then saving the final output as a JPEG at 70% quality — then being confused about why it looks bad. If you’re working with images that have transparency, stay in PNG through the entire process. Convert to JPEG at the final export step only if the platform genuinely requires it, and only at 90%+.
Overwriting the master file
If you flatten your layers and save directly over the original, that decision is permanent. Always watermark a copy. In Lightroom, this happens automatically — export creates a new file and the original stays untouched. In Photoshop, use File > Save As, and explicitly choose a different filename or folder. Never hit Save on your working file after adding a watermark layer.
Using a low-resolution logo
If your watermark logo is a 100×100 pixel PNG being applied to a 4000×6000 pixel photograph, it will look soft and amateurish regardless of how careful you are with the rest of the workflow. Keep a dedicated watermark file at 1000 pixels wide minimum. SVG format is better — it renders at any resolution without any loss.
Trusting “automatic” or “high quality” labels without checking the actual number
Some tools advertise “best quality” or “high quality” as a default. In testing, this phrase almost always corresponds to 85–88% JPEG quality — fine for most casual use, but not appropriate for professional photography. Always verify what the actual compression number is. A label is marketing; the number is what the encoder actually uses.
Frequently Asked Questions
Does adding a watermark reduce image quality?
It doesn’t have to. A watermark applied through a non-destructive method — Lightroom’s export dialog, a Photoshop layer, or any tool that lets you control JPEG quality — and exported at 90–95% will show no visible difference from the original at normal screen sizes. Quality loss comes from improper export settings, not from the watermark itself.
What’s the best file format for a watermarked photo?
For web publishing, JPEG at 90–95% quality gives the best balance between file size and visual sharpness. For images with transparent areas — product photography, logos over white backgrounds — use PNG. For print, export as TIFF or high-quality JPEG at 300 PPI. Avoid running watermarked JPEGs through additional conversion steps after export.
Can I watermark RAW files without losing quality?
RAW formats are read-only by design — you can’t write a watermark directly to a RAW file. The correct workflow is to export the RAW to JPEG or TIFF at maximum quality first, then apply the watermark during that export step. Lightroom does this in a single operation. In Photoshop, open from Camera Raw, add the watermark layer, then export.
How do I batch watermark photos without losing quality?
Use Lightroom’s Export dialog with a saved watermark preset applied to a folder of images. Or use Photoshop’s Batch automation with a custom action. Both apply watermarks in a single export pass — no generational loss. uMark and iWatermark+ also support genuine batch processing with explicit quality control. Avoid batch processing through web-based tools.
What opacity should a photo watermark be?
Most working photographers land between 25–45% opacity. Below 20% makes it straightforward to remove with any basic cloning tool. Above 60% makes the watermark the dominant visual element rather than the photo. If you’re placing it in a corner, 30–40% works well. If you’re overlaying it across the center of the image — common for stock licensing — 15–25% is more appropriate.
Is a text watermark or logo watermark better for quality?
Neither affects quality differently — both are just image layers. The choice is about protection and branding. Text watermarks (your name or website URL) are harder to cleanly remove because they integrate with whatever image content sits behind them. Logo watermarks look more professional for commercial photography work. For maximum theft deterrence, some photographers combine both.
Does Lightroom’s watermark feature affect photo quality?
No, when set up correctly. Lightroom applies watermarks at export time and never modifies the original file. The quality of the exported JPEG is entirely determined by the quality slider in the Export dialog. Set it to 90 or above and the watermarked export will be indistinguishable from the original at any normal viewing size.
Conclusion
Watermarking a photo without losing quality is a solved problem. The tools exist, the settings are simple, and the whole workflow takes about 30 seconds once you’ve set it up.
The short version: start from your highest-quality original, apply the watermark on a non-destructive layer or through your export dialog, and export exactly once at 90–95% JPEG quality. Everything else is detail work.
Photographers are best served by Lightroom’s export watermark — it’s the most friction-free option with no quality cost. For more complex compositions or custom positioning, Photoshop with a saved action handles it cleanly. For high-volume batch jobs, uMark does the job well without requiring a full Adobe subscription.
The one thing worth repeating: never save over your master file. Export to a separate folder, keep the original untouched. You’ll never have to redo work because you overwrote the wrong version.
Set up a watermark preset in whichever tool you use today. Ten minutes of setup work that you’ll use for years.
Designed to deliver value from line one—read our carefully crafted posts.